Building a shed is a DIY project that can be tackled by most people. It's small enough to be tackled in a couple of weekends and the end result is a shed that matches your exact specifications for less that it would cost to buy.
I needed a modestly sized garden shed, mostly for storage (bikes, lawnmower, tools etc.), that would be solid and looked nice. None of the commercially available sheds met the criteria and were within budget so I decided to build my own.
I'm going to document the build process for my DIY Garden Shed in four parts:
- Part 1: Foundation and Base
- Part 2: Framing the Walls and Roof
- Part 3: Roofing - Coming soon
- Part 4: Cladding - Coming soon
Note: This post contains Amazon Affiliate links to products I used in the construction of the shed.
The site
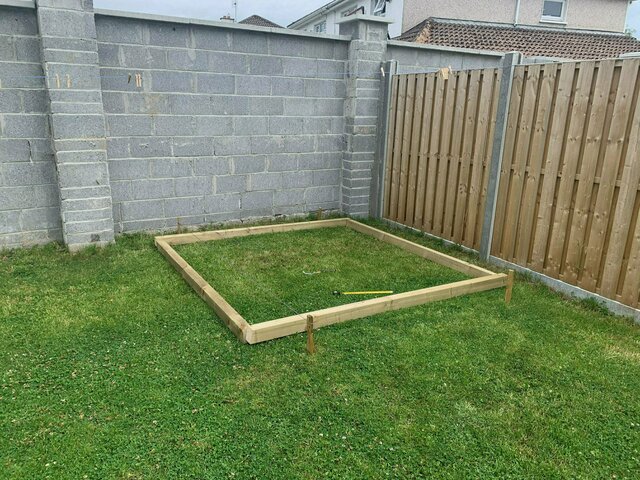
The shed will be built in the back corner of my garden, tucked in beside a wall and a fence. The floor of the shed will be based off two standard plywood sheets (2.44m x 2.44m).
I started off by mark the outline, to get a feel for how big it would and to measure the locations to dig for the foundation.
Putting Down the Foundation
Because I was building the shed during the Coronavirus lockdown I was limited in what materials I could source. This ruled out getting a full concrete pad poured.
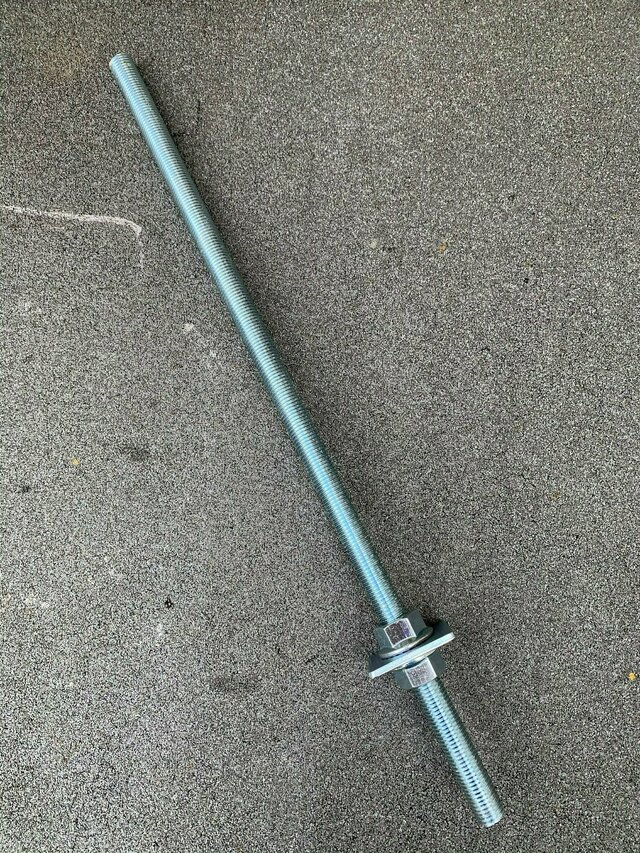
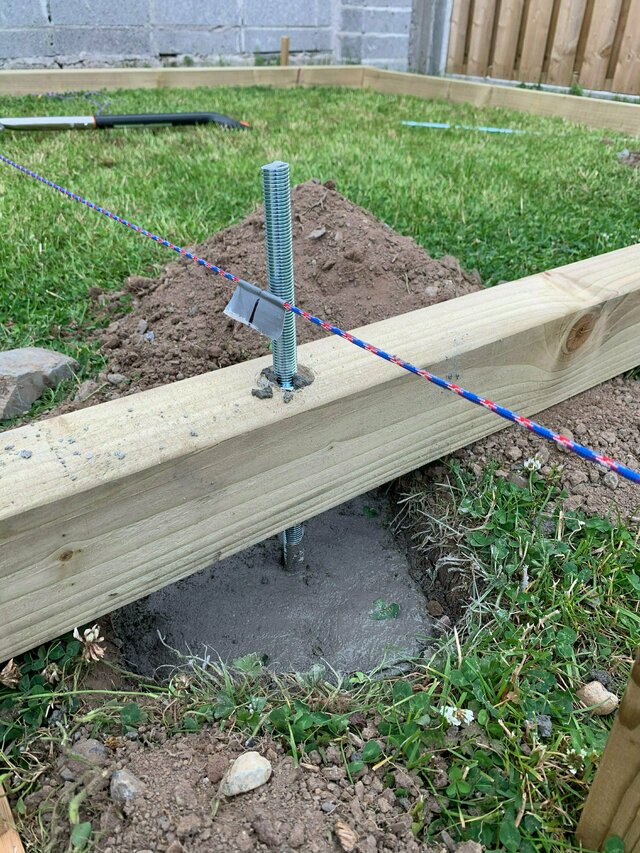
Instead I went for a post foundation consisting of eight holes, about 50cm deep, filled with concrete and in the concrete I bedded a threaded rod.
The threaded rod allows you to easily adjust the height of the shed base so that it is level and raised off the ground to allow for ventilation.
Each rod was a meter long, with a large washer bolted to the bottom so that it would embed in the concrete and not pull out once the weight of the shed was on it.
The top of the rod passes through a 100x75mm beam and and is bolted in place. I recessed the bolts so that the floor would sit flush with the beam.
Getting the threaded rods to line up perfectly was tricky so I decided to dry assemble the frame on the ground and use it to hold the rods in place while the concrete cured.
Here you can see the rod held in place with the frame, ready for concrete.
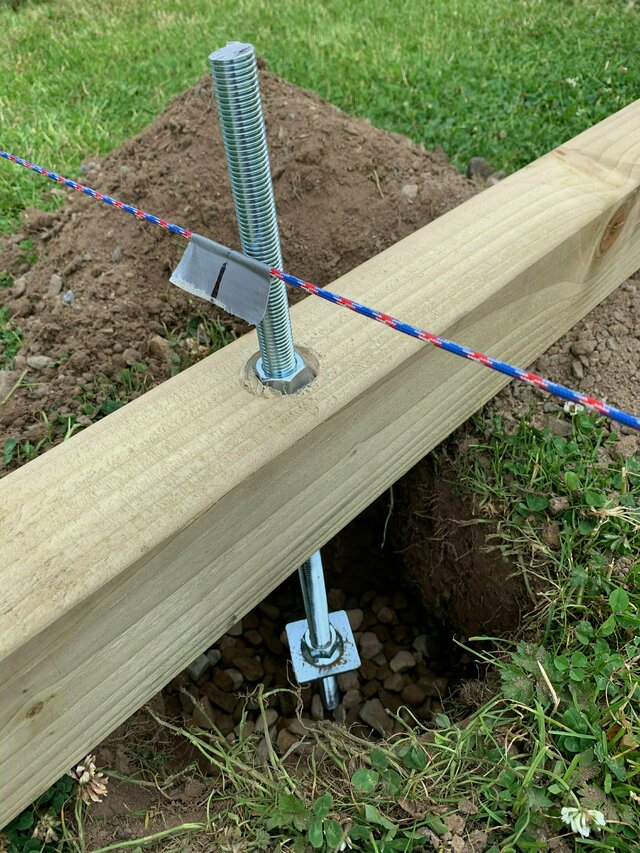
I used one 25kg bag of ready-mix concrete in each post hole and lined the bottom of the hole with gravel for drainage.
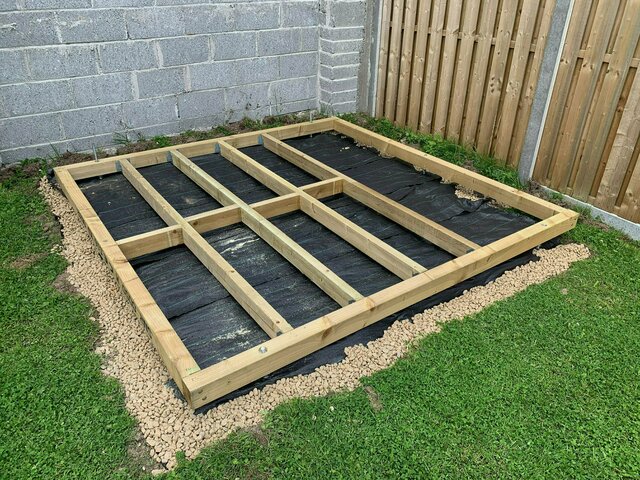
I finished off the foundations by putting down a woven weed block fabric held it in place with gravel at the edge. This will keep weeds and grass from growing under the shed.
Building the Base
The base was built out of 100x75mm timber with 100x44 joists between them. Although the base is raised up off the ground by ~5cm, so it shouldn't get wet, all the timber is pressure treated for longevity. The larger timbers were held together with 125mm decking screws, and the the joists hung off them using 50mm joist hangers.
Detail of the Joist hangers:
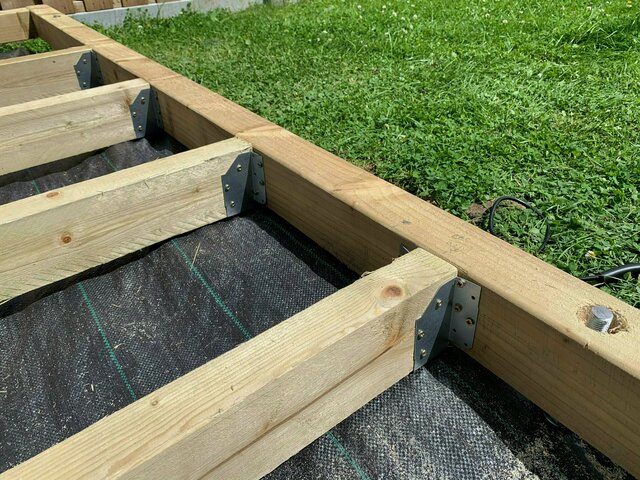
And the joist bracing:

Flooring
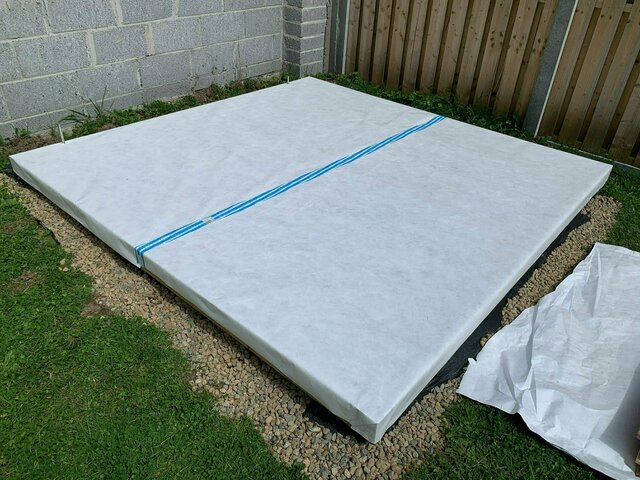
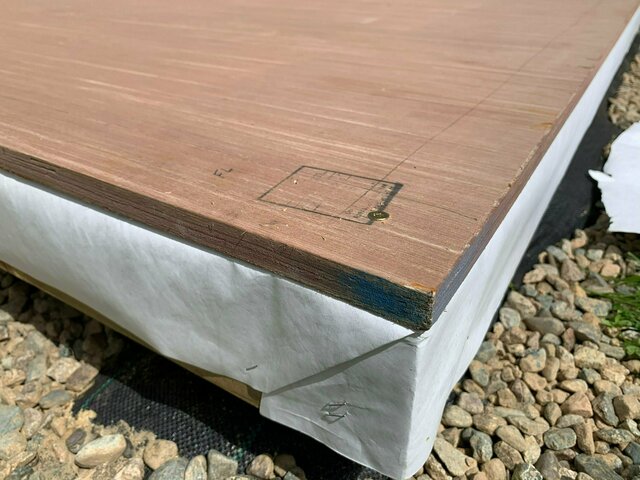
Before putting the floor down on the frame I added a layer of breathable membrane (Tyvek Housewrap), the same membrane I will use on the walls later on. This layer should help with any moisture travelling up from the ground into the flooring.
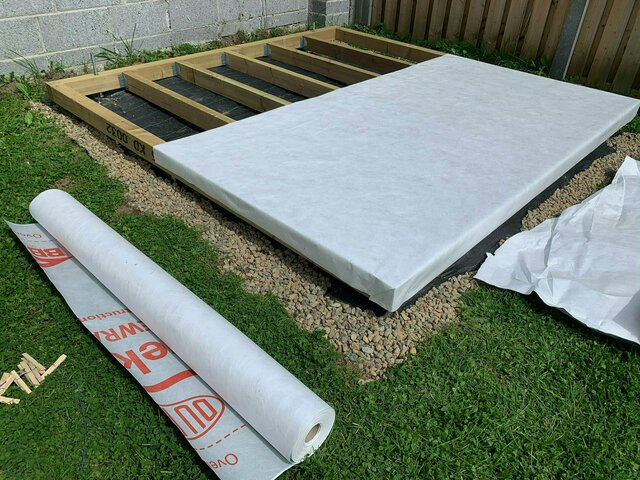
Membrane in place with taped seams.
Once the membrane was in place I could add the flooring. The floor consists of two 18mm hardwood faced plywood sheets that were screwed into the frame.
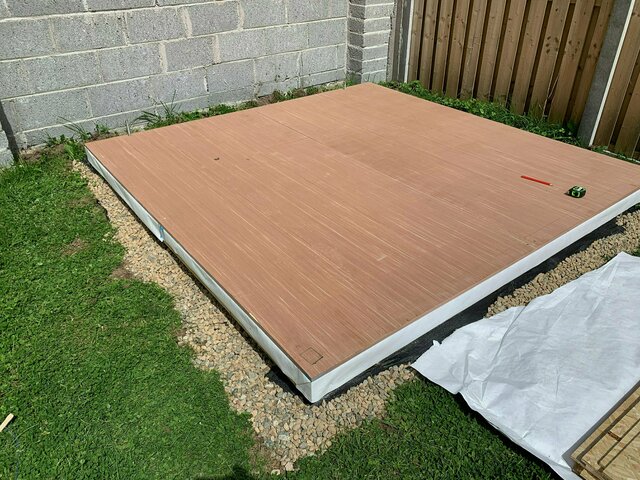
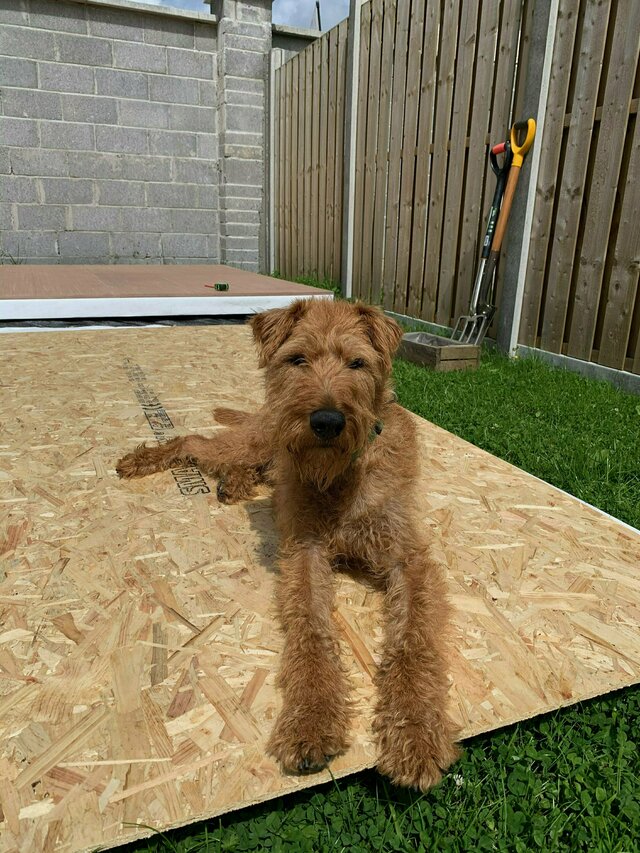
The site foreman kept a close eye on proceedings...
If I were to do the project again I'd look for better quality plywood (Marine Ply perhaps). The wood I received had a number of voids that needed to be filled. I used a stanley knife to scrape out any loose wood around the void and then gave it a quick sanding with a course grade sandpaper. I had some Ronseal Wood Filler that I used to fill the voids level to the floor surface. A final sanding with a fine grit sandpaper finished the job.
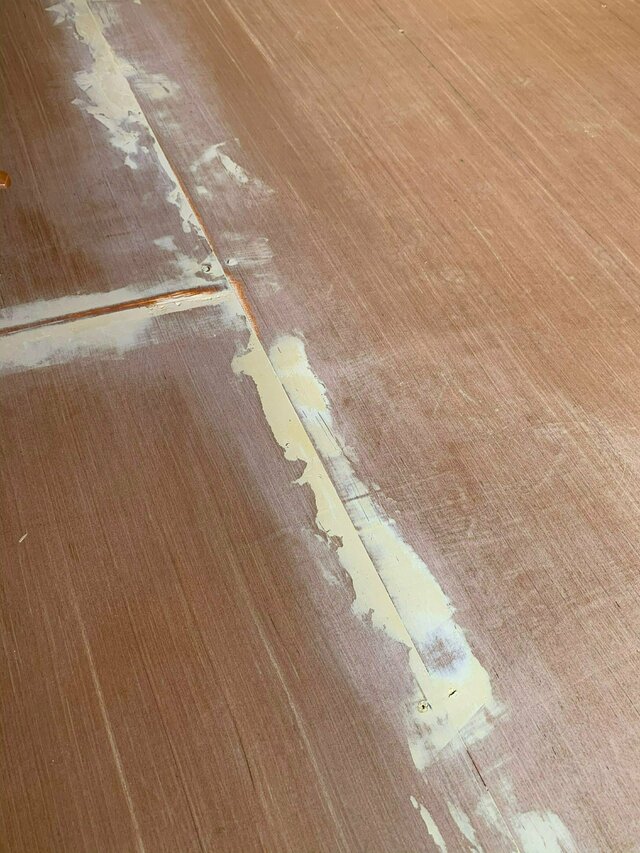
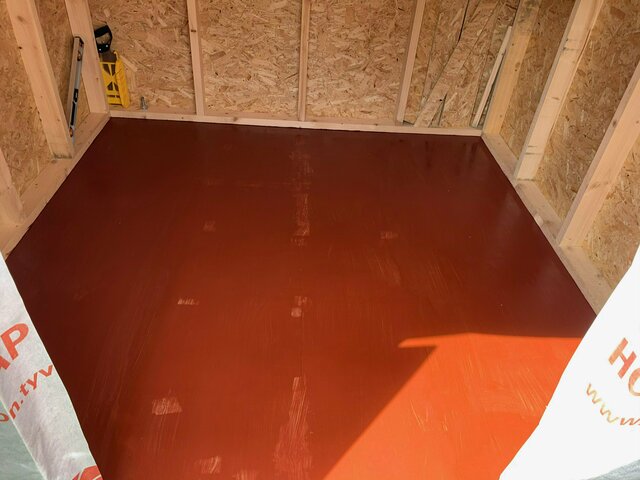
Because the plywood I used wasn't sealed I finished the job by painting the floor with three coat of Ronseal Diamond Hard Floor Paint. The 750ml tin covered the floor in three coats with nothing to spare!

The floor after two coats, you can see where the filler is showing through (and a sneak peak of the framing going up)
The next part of the series will focus on the framing. Stay tuned for that.