This is the second part of the DIY Garden Shed Series and it’s all about building the framing for the walls and roofs. This was easily the most exciting part of the build because you get to see the shape and structure of the shed rise up!
The frame is built out of 44x100mm timber (commonly referred to as 2x4s). If you wanted to save money you could go with smaller dimension stock, but I like how sturdy the shed feels with this size.
I didn’t have a clear plan or scale drawings for the shed design at this point so I mostly designed it by eye as I went.
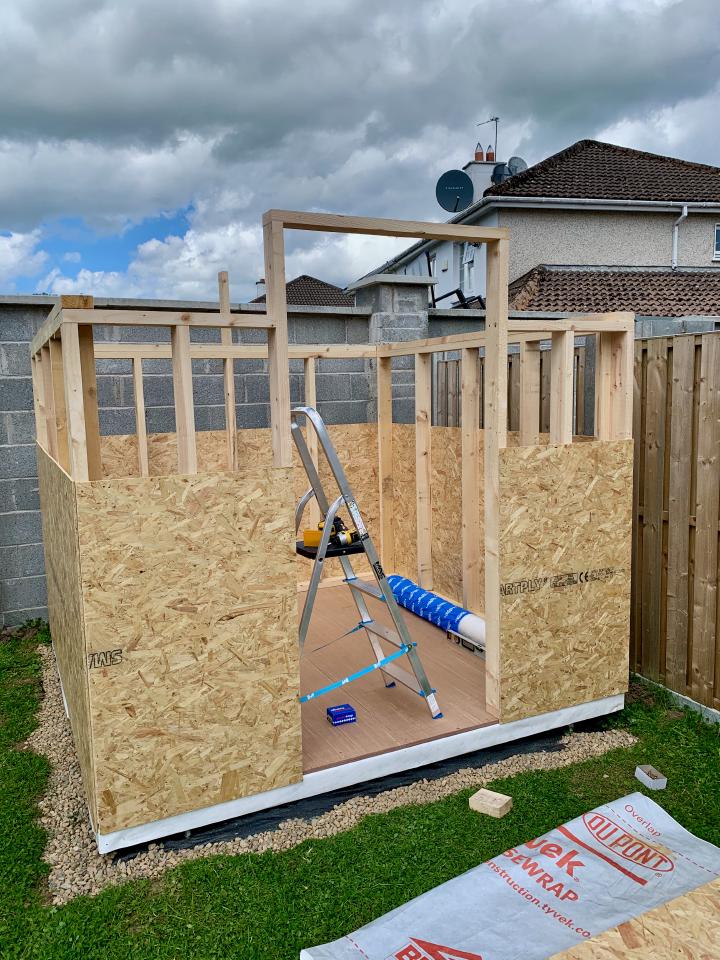
I started off by building the rear and side wall panels. The rear panel is slightly longer because it goes the full length (2440mm) of the base, while the two side panels will sit inside that. The four studs in each panel are approximately 600mm on center.
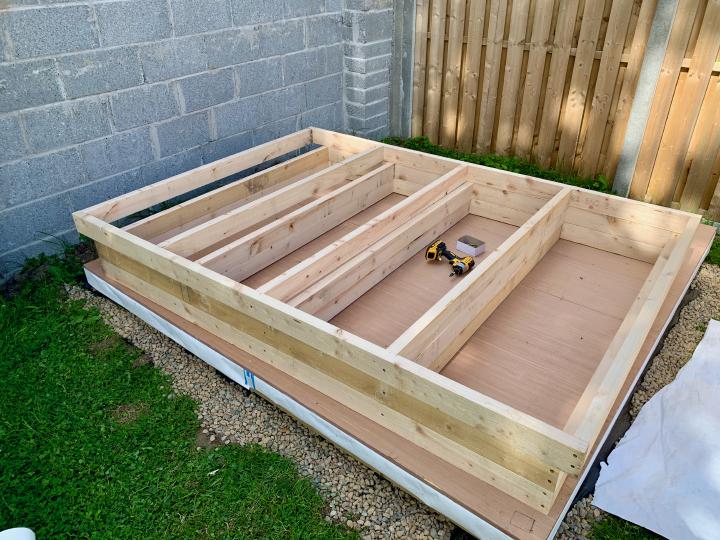
With the wall panels built I could stand them up and connect them together by screwing through the corners.
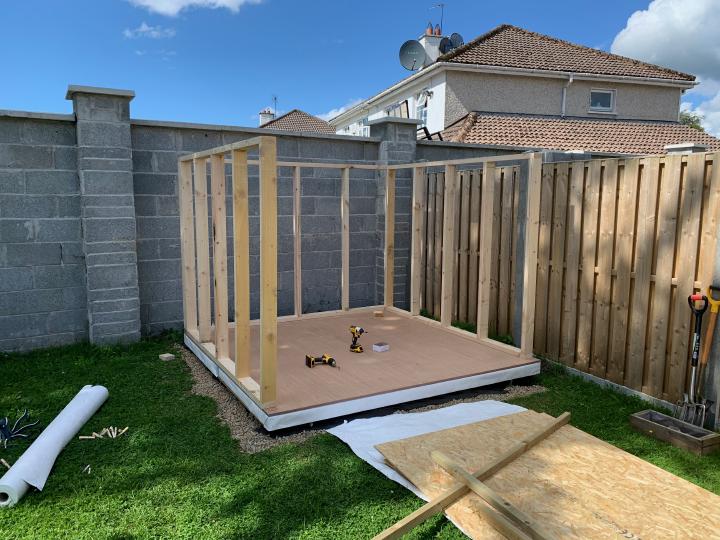
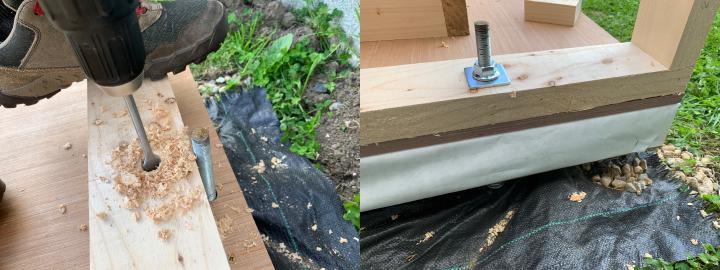
I left some of the foundation bolts proud of the base so that I could use them to anchor the walls down. In hindsight this was overly complicated to line up and drill holes. I should have just screwed the walls directly into the base. It does give a sturdy overbuilt feel to the walls though!
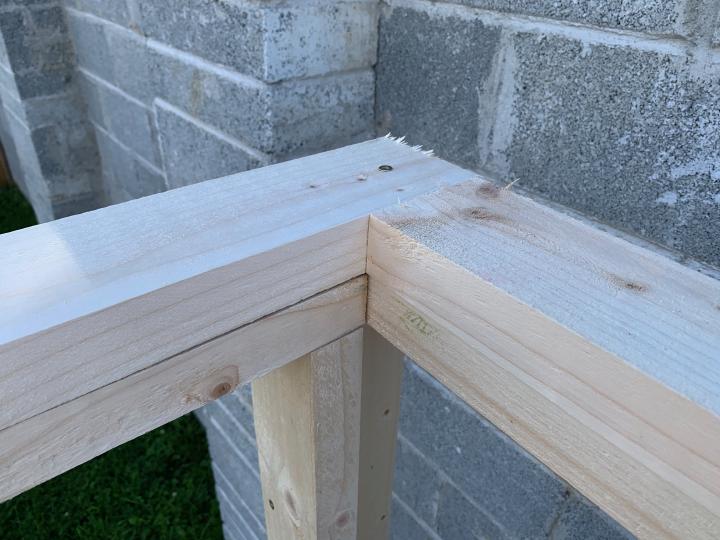
With the three walls up I doubled up the top plate (the timber that goes along the top of the wall panel). This will make the wall strong enough to hold the weight of the roof and also help tie the three walls together.
Once the side and rear walls were in place I could start the front wall. This was a bit more difficult to build because it includes the door opening, which I hadn’t sourced yet so I just left the opening oversized for now.
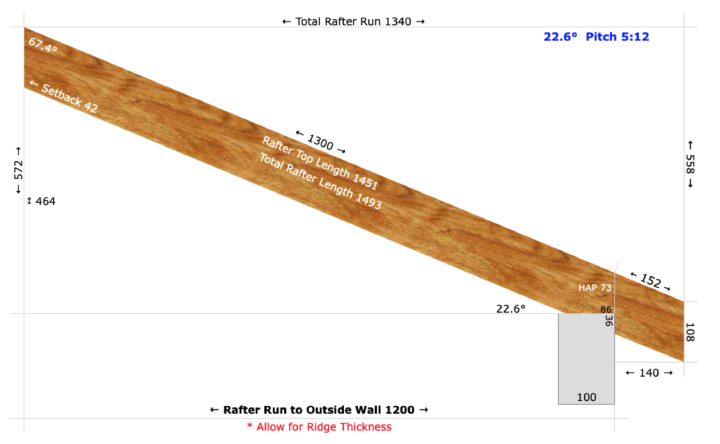
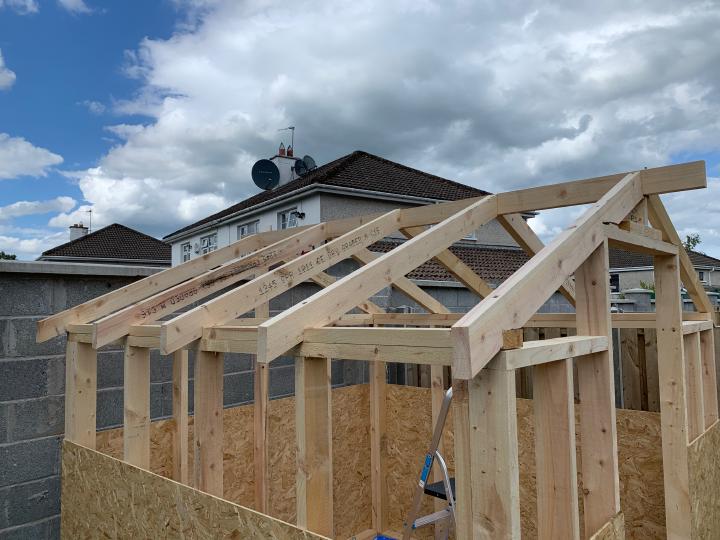
To calculate the angles for the rafters I used an online rafter calculator tool. Using the tool I could enter my constraints (the amount of remaining timber I had as well as keeping the overall height of the shed within planning rules) and it generated a nice cutting guide for me.
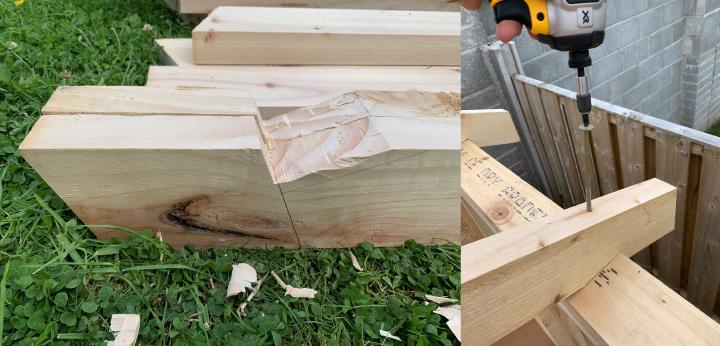
After cutting the rafters I had to notch out a birds-mouth that would let the rafters sit flush with the top of the walls. It’s not my finest work with a chisel but once the shed is complete it won’t be on show! The rafters are secured to the wall with a 150mm screw into the double top plate.
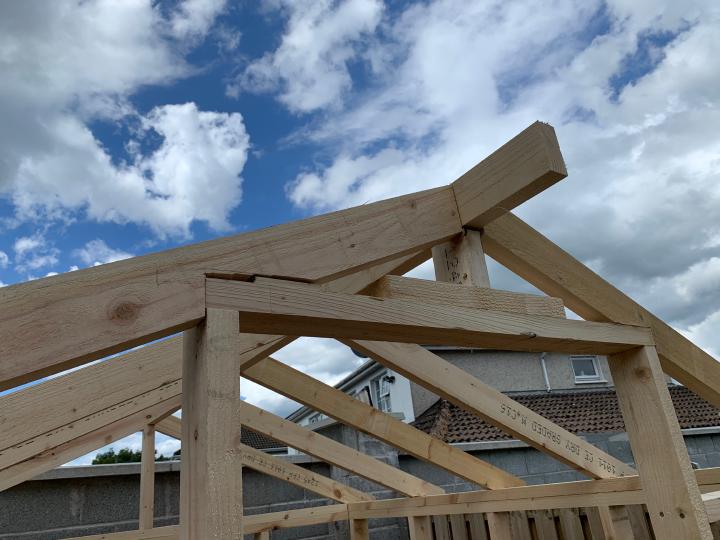
At this point I realised the door opening was too high for the rafters. Somehow I used the dimensions of the door, instead of the dimensions of the door and frame when measuring up. A quick notch of the rafters and it was all sorted.
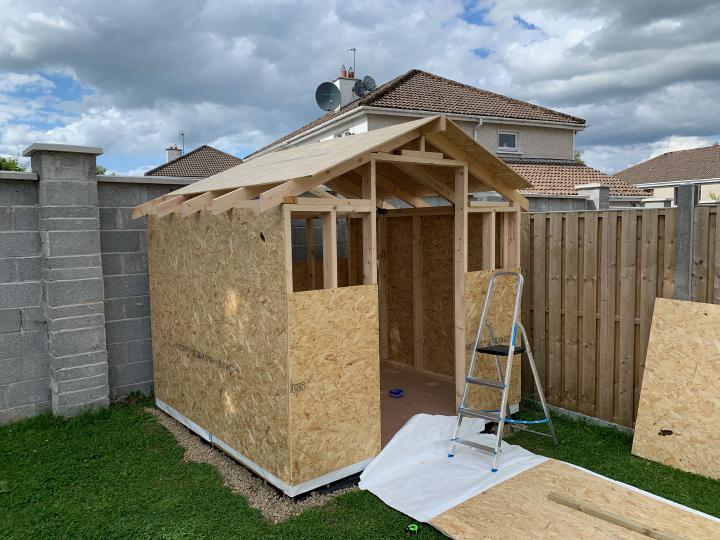
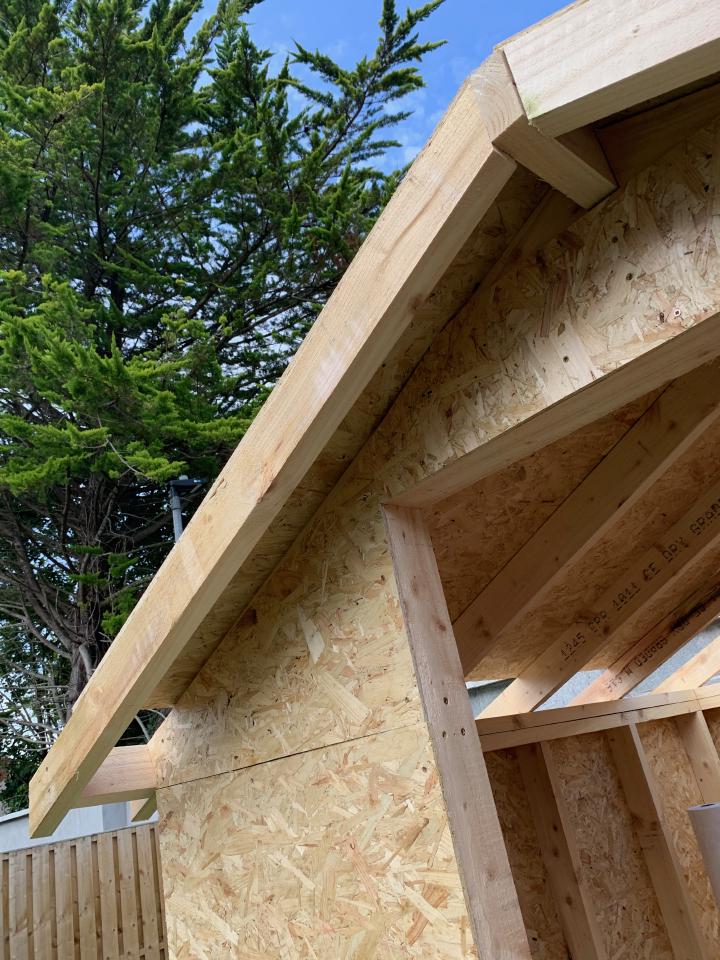
With the frame complete I now started to clad it in OSB. This acts as cross bracing to stiffen up the structure (you can really tell the difference once it goes on) and also gives a solid surface to attach cladding and tiling to.
The walls are covered in 9mm OSB while the roof gets 12mm to make it stronger for walking on when I put on the shingles.
Finally I wrapped both the walls and roof with Tyvek Housewarp breathable barrier. This isn’t really necessary for a shed structure, but because I knew I wouldn’t be able to clad and roof the shed for a few weeks I added it to waterproof the structure.
The wrap is held in place with staples and a waterproof tape seals up the joins.
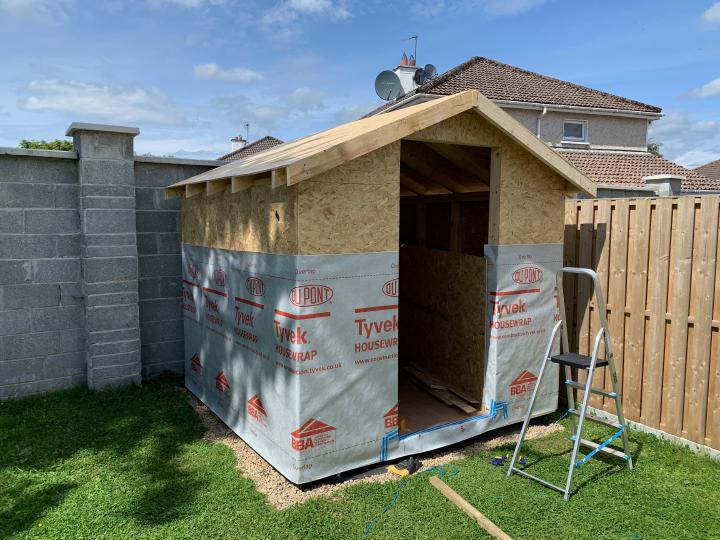
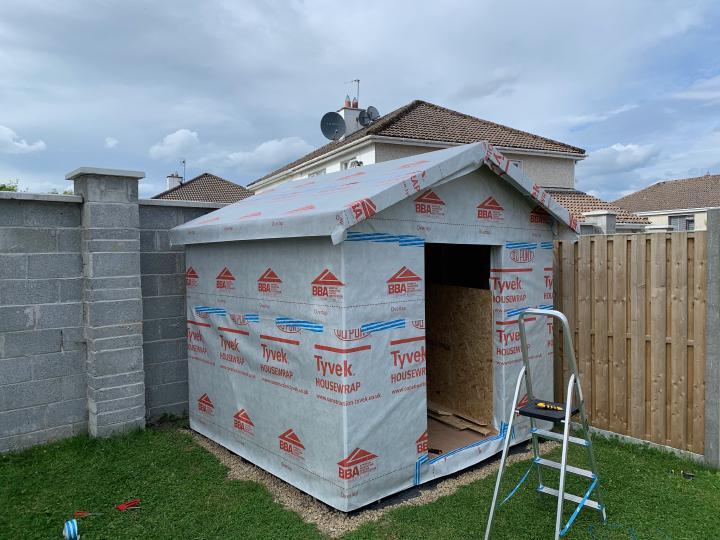
There you have it. The shed is now structurally complete and weather proof! In the next instalment I’ll document the shingle roofing install.